
Creating documents from scratch can quickly become a frustrating, time-consuming process—especially when you find yourself repeatedly formatting the same type of reports, resumes, or proposals. If you’ve ever felt overwhelmed by organizing your work or worried about inconsistencies in your documents, you’re not alone. Fortunately, templates can offer an elegant solution, providing a structured framework that simplifies your workflow and enhances efficiency. Let’s explore the key benefits of using templates on your Mac.
1. Save Valuable Time
We’ve all experienced the hassle of having to set up a new document from scratch—adjusting margins, selecting fonts, and ensuring headers are correctly aligned. This repetitive process eats up valuable time that could be better spent on the actual content of your work.
- Templates eliminate the need for constant reformatting.
- They provide a ready-made structure, cutting down setup time significantly.
- With just a few clicks, you can start working on your actual content instead of fixing layouts.
By using a well-designed template, you can jump straight into your document without the tedious groundwork.
2. Ensure Consistency
Have you ever accidentally used different font sizes in a professional report, or forgotten to include a company logo in a presentation? Inconsistencies like these can harm your credibility, making documents look unprofessional and disorganized. Templates help maintain uniformity across all files, ensuring:
- Headings, subheadings, and body text are consistently formatted.
- Branding elements, such as logos and color schemes, remain standardized.
- Reports, letters, or presentations follow the same structure every time.
Whether you’re managing business documents or university assignments, a template keeps everything polished and uniform, reducing the risk of small but impactful mistakes.
3. Reduce Stress and Improve Focus
Do you ever feel anxious staring at a blank page, not knowing where to start? A predefined structure relieves this pressure, providing guidance so you can focus on your message rather than design complexities.
- With a pre-set layout, you no longer need to worry about spacing, fonts, or alignment.
- Your focus shifts towards content quality and clarity.
- Templates provide an easy-to-follow framework, reducing cognitive load and decision fatigue.
Less stress means better productivity and a more enjoyable document creation experience.
4. Cater to Different Document Needs
No two documents are the same—but with the right set of templates, you can cover a wide range of formats and styles effortlessly. Mac applications such as Pages, Keynote, and Numbers offer various professional templates, whether you need:
- An elegant resume that stands out to recruiters.
- A sleek business proposal with aligned sections.
- A visually appealing presentation with built-in slide transitions.
Using templates ensures that each type of document is tailored to its purpose, without you having to build layouts from the ground up.
5. Minimize Errors and Enhance Collaboration
Working as part of a team often means sharing and editing documents. Without a template, formatting inconsistencies can creep in as different team members contribute to the same file.
- Templates provide an agreed-upon structure, making collaboration smoother.
- They make guidelines clear, reducing errors caused by inconsistent formatting.
- A shared template keeps version control easier, ensuring everyone works from the same structured framework.
If you’re working with colleagues, students, or clients, standardized templates help maintain professionalism and eliminate unnecessary confusion.
By integrating templates into your document creation process, you streamline your workflow, maintain consistency, and reduce the stress of starting from scratch. Once you start using them, you’ll wonder how you ever worked without them!
Mac users have access to a wide variety of templates, making it easier than ever to create professional and polished documents, spreadsheets, and presentations without having to start from scratch. Whether you’re working on a personal project, a business report, or an educational presentation, the right template can make a world of difference by providing a structured format that eliminates unnecessary effort. Here’s a closer look at the types of templates available on Mac and how you can leverage them to maximize your productivity.
Built-in Templates: A Quick and Convenient Option
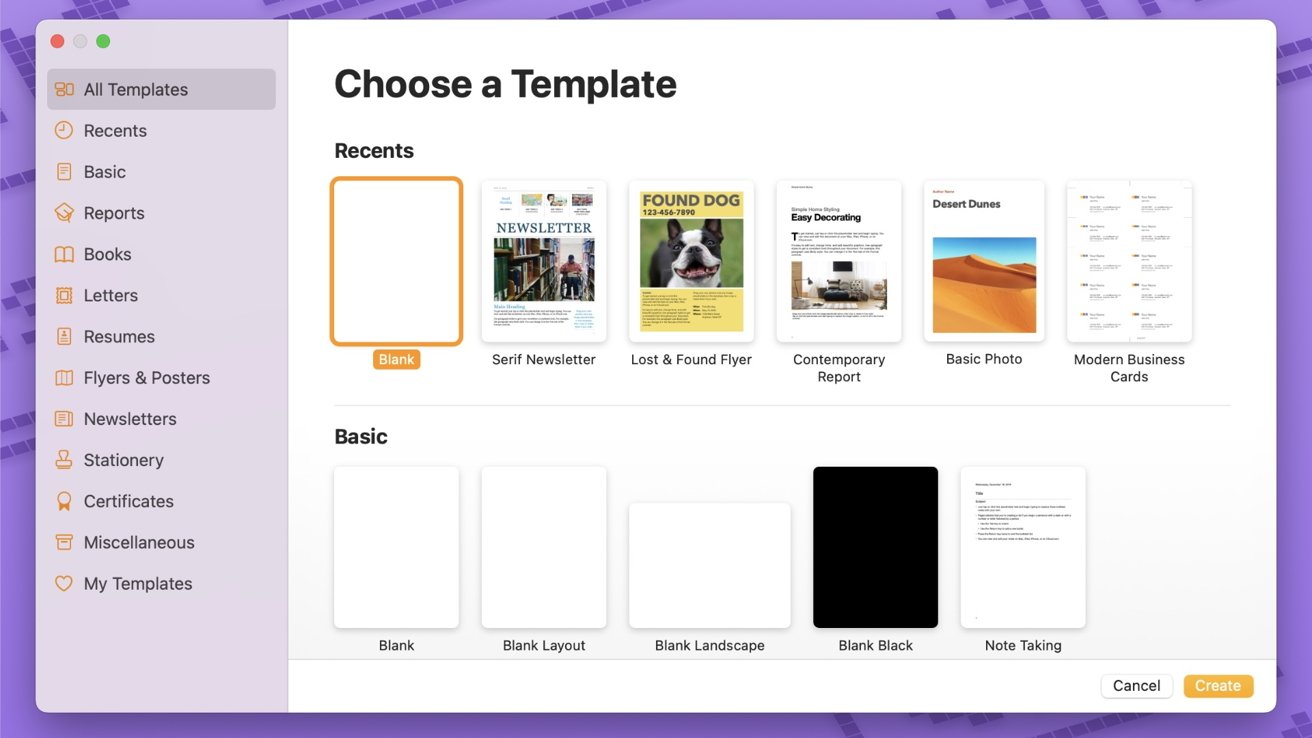
If you’re looking for a simple, hassle-free solution, built-in templates are your best bet. Mac’s native applications, such as Pages, Numbers, and Keynote, come with a variety of pre-designed templates that cater to diverse needs. Whether you need a resume, a budget planner, a project timeline, or a business proposal, these templates offer a polished starting point. You can find them by simply opening the respective app and selecting “New Document”, where a template chooser provides multiple categories to explore.
- Pages: Features templates for letters, reports, posters, resumes, and invitations.
- Numbers: Offers budget planners, invoices, loan comparison sheets, personal finance trackers, and more.
- Keynote: Includes beautifully designed themes for presentations, with a variety of colors and font combinations.
These templates are particularly useful for those who don’t want to spend time formatting and designing from the ground up. Simply choose a template, replace the placeholder text with your own content, and you’re ready to go!
Third-Party Templates: A World of Possibilities
For even more customization and variety, third-party templates can be a game-changer. There are numerous websites offering high-quality downloadable templates that cater to specific industries and needs. Whether you’re looking for creative CV formats, sleek PowerPoint alternatives, or niche spreadsheet layouts, you can easily find something that meets your requirements.
Here are some trusted sources for Mac-compatible templates:
- Envato Elements: A resource for professionally designed Pages, Keynote, and Numbers templates, ideal for business and marketing materials.
- Template.net: Offers a library of free and premium templates for resumes, invoices, and presentations.
- Creative Market: A great destination for beautifully crafted resume layouts, branding kits, and presentation themes.
- Microsoft Office Templates: Works seamlessly for Mac users who utilize Microsoft Word, Excel, and PowerPoint.
These external templates are especially helpful for more intricate projects, allowing you to achieve professional-level design without requiring advanced skills.
Custom Templates: Tailored to Your Needs
While pre-made templates are highly useful, sometimes they may not align perfectly with your workflow or personal preferences. That’s where custom templates come in. By creating your own templates, you can ensure that every document you generate maintains a uniform layout, includes all necessary elements, and fits your specific needs.
Why create custom templates?
- Avoid reformatting every time you start a new document.
- Incorporate branding elements such as logos, fonts, and colors for business documents.
- Standardize sections in frequently used files (e.g., monthly reports or project proposals).
- Boost efficiency—start with a familiar structure instead of a blank page.
Mac’s productivity apps allow you to save a document as a template, making it easy to reuse whenever needed. This is particularly beneficial for professionals who frequently work with standardized document formats.
Whether you prefer the ease of built-in templates, the variety of third-party options, or the customization of personalized structures, Mac offers a rich ecosystem for enhancing document creation. By exploring these different template types, you can find the perfect fit for your workflow, saving time and boosting efficiency.
Creating custom templates on Mac can be a total game-changer, especially if you frequently work with similar document formats. Instead of wasting time setting up headers, adjusting margins, or tweaking fonts every time you start a new document, you can streamline the process by designing a template that caters specifically to your needs. Whether you’re a student trying to structure your assignments, a professional compiling reports, or an entrepreneur crafting business proposals, custom templates can significantly enhance your productivity and ensure consistency in your work.
Step 1: Choose the Right Application
The first step in creating a custom template is selecting the right application. Mac’s built-in apps, such as Pages, Numbers, and Keynote, offer intuitive tools for designing templates. Depending on what type of document you need, you can choose from:
- Pages: Ideal for letters, resumes, reports, contracts, and brochures.
- Numbers: Great for financial planning, budgeting, scheduling, and data organization.
- Keynote: Perfect for crafting professional slideshows and presentations.
If you frequently use Microsoft Office on your Mac, Word, Excel, and PowerPoint also support custom templates, allowing you to create tailored designs that fit your corporate or personal style.
Step 2: Set Up the Document’s Structure
Once you’ve chosen your application, it’s time to build the foundation of your template. Think about the elements that should be consistent in every new document you create:
- **Headers and Footers:** Add standard header text, page numbers, and company branding if needed.
- **Text Formatting:** Set up preferred font styles, sizes, and colors to maintain uniformity across documents.
- **Tables and Lists:** Create structured layouts for things like budgets, project plans, or inventories in Numbers.
- **Placeholders:** Use placeholder text and image boxes in Pages or Keynote, making it easy to replace content without messing up the formatting.
- **Branding Elements:** If working in a business setting, include your company’s logo, contact details, or color scheme.
Taking the time to define these structural components upfront will save you from repetitive formatting in the future.
Step 3: Save the Document as a Template
Once your document is formatted to perfection, the next step is saving it as a reusable template. Here’s how to do it in different Mac applications:
- Pages: Click **File > Save as Template**, then select **Add to Template Chooser** to store it in the app for future use.
- Numbers: After designing the spreadsheet, go to **File > Save as Template** and name your template for easy access.
- Keynote:** Once your presentation is ready, navigate to **File > Save Theme**, then save it under “My Themes” for quick selection.
- Microsoft Word/Excel/PowerPoint: Use **File > Save As** and select the appropriate template format (.dotx for Word, .xltx for Excel, or .potx for PowerPoint).
By saving your template in a dedicated section within your app, it stays readily available every time you start a new document, eliminating the need to reset formatting manually.
Step 4: Access and Use Your Custom Template
Now that your template is saved, using it is incredibly simple. The next time you open Pages, Numbers, or Keynote, simply navigate to the template chooser, locate your design under “My Templates,” and click to open. If you saved the template as a file in Finder, just double-click it, and a fresh copy will open—leaving the original template unaltered.
For Microsoft Office apps, you can access saved templates by opening **File > New from Template** and selecting your customized design.
Step 5: Regularly Update and Improve Your Templates
Your document needs may evolve over time, and your templates should evolve too. Be sure to revisit them periodically to ensure they still meet your workflow requirements:
- If you notice new sections or elements being added manually every time, update your template to reflect those changes.
- Revisit font styles and branding elements to ensure they align with your latest preferences or company standards.
- Organize multiple templates into clearly labeled categories, like “Business Reports,” “Invoices,” or “Marketing Presentations.”
Regular updates ensure your templates remain useful and continue to make your work more efficient instead of outdated.
By taking control of your document formatting with custom templates, you not only save time but also maintain consistency and professionalism across all your work. With a streamlined workflow, you can focus more on content creation and less on repetitive setup—giving you the freedom to be more productive with every document.
Once you’ve started using templates, the next step is to ensure they are organized and easily accessible whenever you need them. If you’ve ever struggled to find the right template or wasted time recreating a document because you couldn’t locate it, you’re not alone. A well-structured template system can save you time and minimize frustration, allowing you to focus on your work rather than searching for resources.
Storing Templates in the Right Place
One of the easiest ways to keep your templates organized is by saving them in a centralized location. Mac applications such as Pages, Numbers, and Keynote automatically store custom templates in the Template Chooser, making them readily available when you start a new document. However, if you frequently switch between applications or collaborate with others, you might want a more systematic approach. Here’s how:
- Use iCloud Drive: Storing templates in iCloud ensures they are accessible across all your Apple devices. Simply create a dedicated folder for templates in your iCloud Drive and save them there.
- Create a Local Templates Folder: If you prefer to keep your templates on your Mac, set up a “Templates” folder in your Documents or Desktop for easy access.
- Use Finder Tags: Assign color-coded tags in Finder to different types of templates (e.g., business, personal, academic) to quickly locate them when needed.
- Leverage Spotlight Search: If you forget where a template is saved, use the Spotlight search function (Command + Space) and type “_template” or the template’s name to find it instantly.
Setting Up Quick Access to Frequently Used Templates
Constantly opening Finder or iCloud Drive to retrieve templates can become tedious. To speed up the process, consider setting up shortcuts:
- Pin Templates to the Dock: Drag your commonly used templates to the right side of the Dock (near the Trash) for one-click access.
- Create Aliases on the Desktop: Right-click the template file, select “Make Alias,” and place the alias on your desktop or in a dedicated “Quick Access” folder.
- Add Templates to the Sidebar: Drag your Templates folder to the Finder sidebar so it’s always within reach.
These options ensure that your most frequently used templates are accessible in just a few clicks.
Utilizing the Template Chooser in Productivity Apps
If you primarily use Pages, Numbers, or Keynote, the built-in Template Chooser is a convenient way to manage your templates efficiently. To add a new template:
- Open the document you designed as a template.
- Go to File > Save as Template (or Save as Theme for Keynote).
- Select Add to Template Chooser and name your template.
Your newly created template will now appear in the “My Templates” section, allowing you to quickly select and start using it without searching through folders.
Using Cloud Storage for Seamless Access Across Devices
For those who work on multiple devices or collaborate with teams, cloud storage solutions like Google Drive, Dropbox, or OneDrive offer an excellent way to keep templates synchronized. Here’s how to take advantage of them:
- Shareable Access: Upload your templates to a shared folder so your team can access them anytime.
- Version Control: Cloud platforms often allow users to track changes, helping you maintain up-to-date versions of your templates.
- Multi-Device Availability: Whether you’re on a Mac, iPad, or another device, storing templates in the cloud ensures you can work from anywhere.
Keeping Templates Updated and Relevant
Just like any workflow tool, templates should be periodically reviewed and updated to stay useful. Set a reminder to check your templates every few months and ask yourself:
- Are the formatting styles still up to date?
- Have terminology or branding elements changed?
- Are there any redundant templates that can be removed to reduce clutter?
By keeping your templates well-maintained, you ensure they continue to serve their purpose effectively.
With a well-thought-out system for organizing and accessing templates, you’ll spend less time searching and more time creating. Whether using built-in features like the Template Chooser, cloud storage solutions, or simple shortcuts, having an efficient method in place enhances your workflow and makes document creation effortless.
Once you’ve mastered the basics of using and organizing templates, it’s time to take your efficiency to the next level with advanced strategies. Whether you’re a professional looking to streamline business reports, a student managing academic work, or a creative designing presentations, these tips will help you fine-tune your workflow and make the most out of templates on your Mac.
1. Automating Template Usage with Shortcuts
Manually searching for and opening templates can be tedious, especially if you use them frequently. Mac’s Shortcuts app can automate repetitive tasks, including opening your preferred templates with a single click. Here’s how to set it up:
- Open the Shortcuts app on your Mac.
- Click “+” to create a new shortcut.
- Choose “Open File” and select your template document.
- Save the shortcut and add it to the Dock or assign a keyboard shortcut for quick access.
Now, instead of navigating through folders, you can open your preferred template instantly with a single action.
2. Leveraging Mac’s Stationery Pad Feature
Did you know you can make any document behave like a reusable template without overwriting it? The Stationery Pad feature in macOS allows you to open an untitled copy of a file every time, preventing accidental modifications.
- Find your template file in Finder.
- Right-click and select “Get Info” (or press Command + I).
- Check the box labeled “Stationery Pad”.
- Close the Info window.
Now, whenever you double-click the file, it will open as a new untitled document, keeping your original template intact.
3. Embedding Smart Fields in Templates
If you frequently update dates, names, or other details but want to avoid manually replacing text each time, Smart Fields can automate this process. In Apple’s Pages or Microsoft Word, you can insert fields that auto-update when you open the document.
- In Pages, go to Insert > Date & Time to automatically add a dynamic date.
- In Word, use Insert > Field to add custom placeholders like dates, author names, and file names.
- Customize Smart Fields by creating text placeholders, ensuring they are easy to replace when needed.
Using these dynamic elements makes modifying documents faster and reduces the risk of errors.
4. Pre-Filling Spreadsheet Templates with Formulas
For those using Numbers or Excel, ensuring your spreadsheet templates come pre-filled with formulas can automate calculations and save time. Instead of manually adding calculations every time, follow these steps:
- Set up formulas for total sums, averages, or custom calculations.
- Apply conditional formatting rules to highlight important data.
- Lock formula cells if sharing with others to prevent accidental changes.
- Save the spreadsheet as a template, so every new file is ready for data entry without extra setup.
By configuring formulas in advance, your spreadsheet templates will do the heavy lifting for you.
5. Sharing and Standardizing Templates with Teams
If you’re part of a team or organization, maintaining consistency across documents is crucial. Instead of distributing templates manually, take advantage of shared cloud solutions:
- Save templates in a shared iCloud Drive folder for seamless access across Mac devices.
- Use Google Drive, Dropbox, or OneDrive to provide team members with always up-to-date versions.
- Create version-controlled templates by appending dates (e.g., “Proposal_Template_2024”).
- Develop template guidelines to ensure alignment with branding and formatting standards.
With a central repository for templates, you improve collaboration and reduce inconsistencies across documents.
6. Combining Templates with Apple Scripts for Automation
For tech-savvy users, AppleScript allows for powerful automation. You can script actions like generating reports, filling in placeholders, or even sending templated emails automatically.
- Use AppleScript to programmatically open a template and populate it with dynamic data.
- Automate repetitive document creation tasks by integrating scripts with Numbers or Pages.
- Combine with Automator for workflows that create, save, and email finished documents effortlessly.
Although it requires some coding knowledge, AppleScript can significantly enhance template workflows for advanced users.
7. Regularly Reviewing and Refining Templates
To ensure sustained productivity, revisit and refine your templates periodically:
- Remove outdated styles or information.
- Update branding elements, such as logos or company taglines.
- Optimize template structures based on feedback or workflow improvements.
By keeping your templates fresh, you ensure they’re as useful and relevant as when you first created them.
By implementing these advanced strategies, you can optimize your template usage on Mac, creating a smoother, faster, and more customized document workflow. The time saved on formatting, organizing, and retrieving files adds up, enabling you to focus on content creation without distractions.